Abstract
This site is run on a virtual server hosted by hetzner. This article explains how it was done.
(This article is based and a slightly modified version of this article)
Words of caution
Technically this is a simple act, but legally please ensure that, at least in the EU, you have a proper imprint and data security page
Configuring a server
This is a basic hetzner server, i chose one of the cheapest configurations. However, you should choose the backup option. This enables you to rollback your server to an older version, which will come in handy, if needed.
In the last step, you should follow the example config script. Add a user and your ssh public key. In addition, you should add a user password – that way you can log into the server via a web terminal, just in case you managed to screw up your ssh login. Or you set it via
sudo passwd <your user>Once you setup your server, configure your DNS server to point to the servers address. I will assume that your domain is blog.example.com and the DNS server for your domain has a valid A (IPv4) or AAAA (IPv6) record for your server
Setting up the software
You need to install docker and docker-compose. I installed ubuntu and follwoed the instruction.
Plan:
- create an app folder
- install nginx proxy manager
- install wordpress
- create ssl certificate
- configure host in nginx
So first we create the app folder
mkdir apps
cd apps
Installing the nginx proxy manager
Create a file named docker-compose.yml and set this content:
version: "3"
services:
  app:
    image: 'jc21/nginx-proxy-manager:latest'
    restart: unless-stopped
    ports:
      - '80:80' # Public HTTP Port
      - '443:443' # Public HTTPS Port
      - '81:81' # Admin Web Port
    volumes:
    - ./data:/data
    - ./letsencrypt:/etc/letsencrypt
Be very careful with the intendations!
Start the image
sudo docker-compose up -dThis basically opens three ports, the default two for the website(s), the last one (81) is the web interface for the proxy manager. Since this is pure http and thus unencrypted, i do not access the manager via http://<server-op>:81, but with port forwarding during an existing ssh session.
Host blog
HostName <some.ip.address> # or blog.example.com
User <user name>
IdentityFile %d/.ssh/<name your private key file>
Port <22 by default, but you should change that>
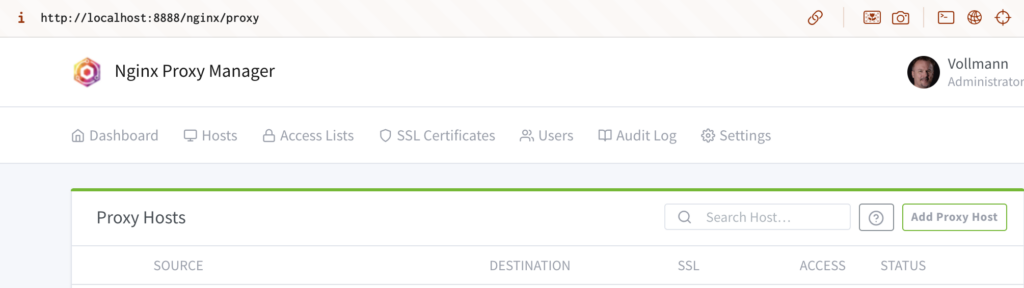
LocalForward 8888 127.0.0.1:81This enables me to access the UI via http://localhost:8888 and no one can evasdrop. Of course, this only works as long as i am connected via terminal session.
After you created your user, you should see something like this:
The referenced article configured the host first, followed by the SSL certificate, but this order did not work out for me. So first we go to the „SSL Certificates“ tab and create a new certificate (in this case for blog.example.com and some.other.domain):
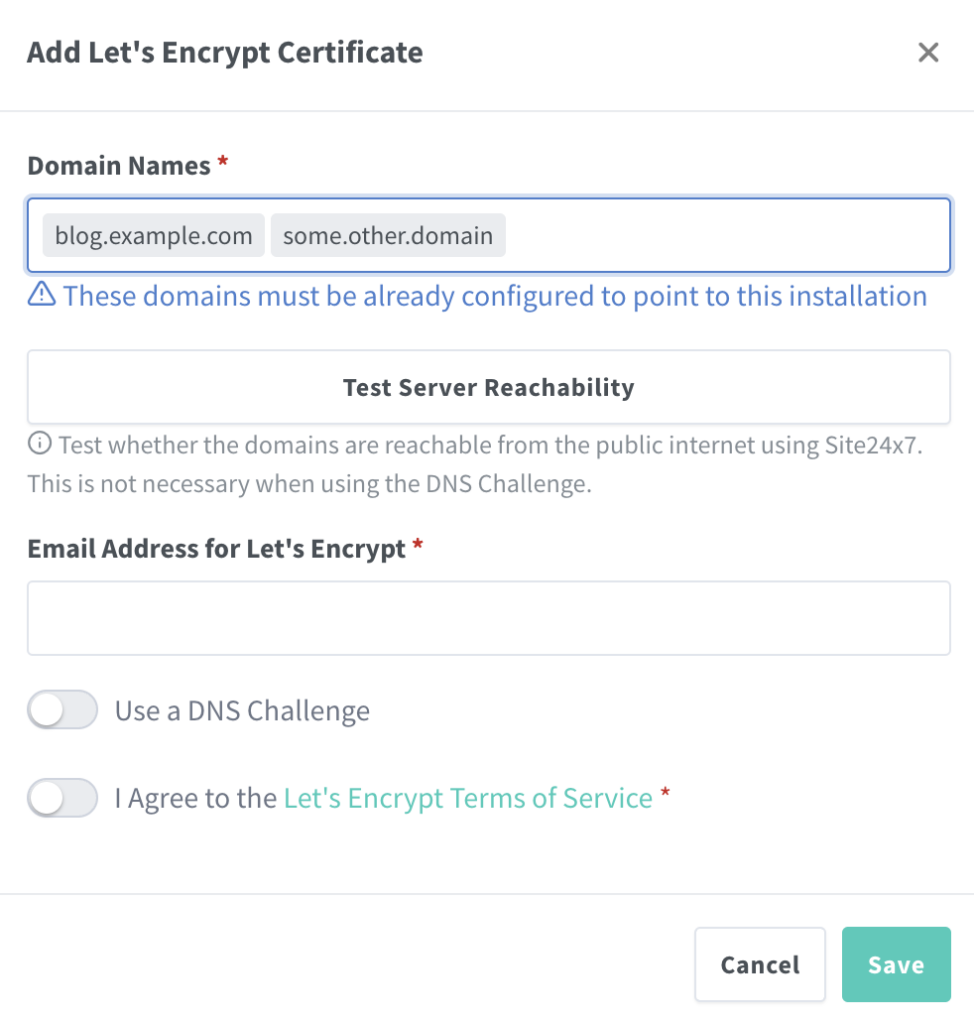
This is rather self explanatory, i did not use the DNS Challenge. Just enter domain, verify reachability, agree terms and save.
Setting up wordpress image
Back in the apps folder we create a new folder wordpress (name does not matter). Place this docker compose file. Change passwords as needed
version: "3.9"
services:
  db:
    image: mysql:8
    volumes:
      - db_data:/var/lib/mysql
    restart: always
    environment:
      MYSQL_ROOT_PASSWORD: mysql_password
      MYSQL_DATABASE: wordpress
      MYSQL_USER: wordpress
      MYSQL_PASSWORD: wordpress_password

  wordpress:
    depends_on:
      - db
    image: wordpress:latest
    volumes:
      - wordpress_data:/var/www/html
    ports:
      - "8000:80"
    restart: always
    environment:
      WORDPRESS_DB_HOST: db
      WORDPRESS_DB_USER: wordpress
      WORDPRESS_DB_PASSWORD: wordpress_password
      WORDPRESS_DB_NAME: wordpress
volumes:
  db_data: {}
  wordpress_data: {}
Again, mind the indents and start the image:
sudo docker-compose up -dBringing it all together
Before we connect the docker image to the ssl certificate, we need to identify the internal docker ip address. Run this:
ifconfig | grep -A 10 dockerYou should see a line similar to this:
inet 1.2.3.4 netmask 255.255.0.0 broadcast 1.2.255.255In this case 1.2.3.4 is the IP address you need in the next step. Go back to the Nginx Proxy Manager and go to the hosts tab. Here you select „Proxy Hosts“ and open the create dialog:
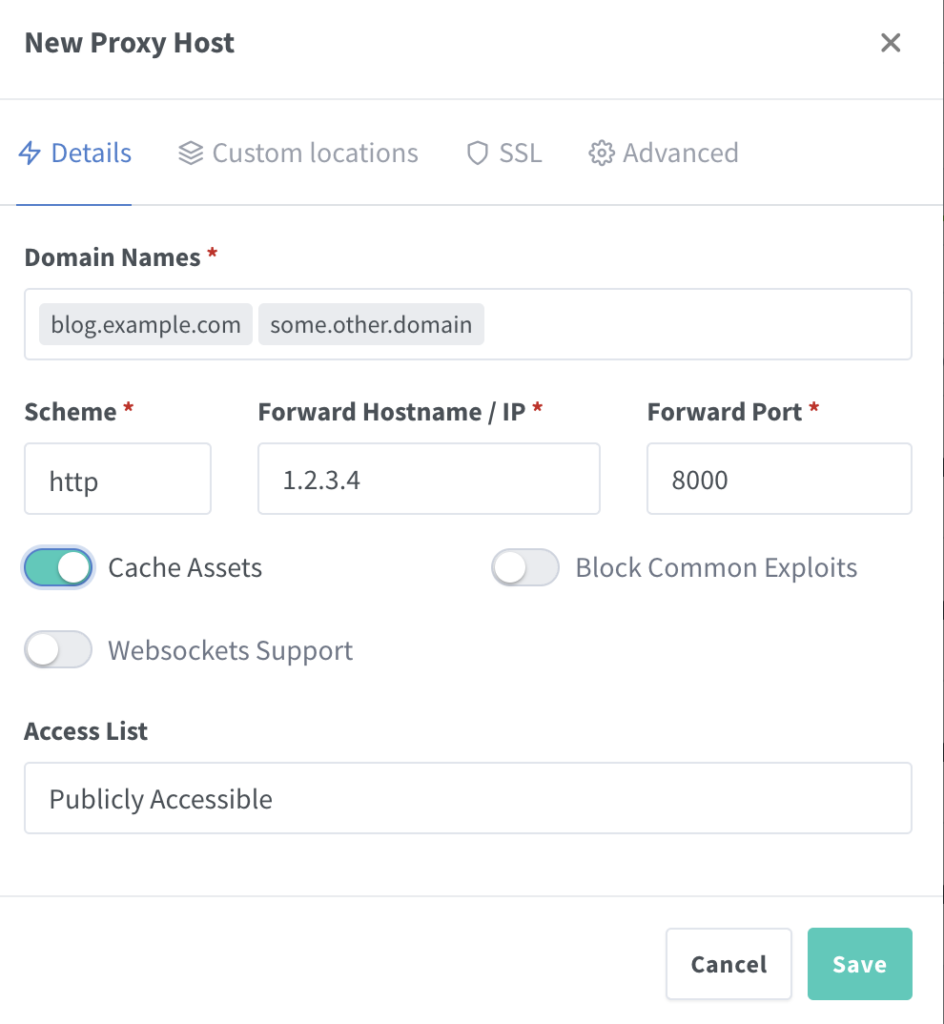
The IP relates to the IP we queried before, the forward port is configured in the docker-compose file (8000:80)
Select the matching certificate in the SSL tab and enforce https.
Save – and we are done!
Go to https://blog.example.com and configure your wordpress installation.
Have fun